
Printserver configuration
1.0 Printserver installation
Connect the switch and change the IP addresses.
The print server is then connected to the switch, and the printer is also connected to the print server. (Important!) Do not connect to the uplink of the switch
· Installation of the software. (In our case, Netgear)
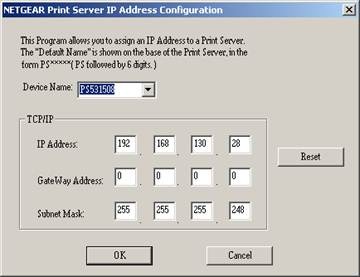
· IP Configuration and Device Name:
 |
 |
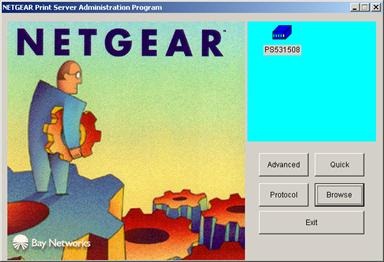
Start the administrator programs. (By Netgear available on the CD)
After a successful search, the print server was found in the software and can now be put into operation.
1.1 Installation of a printer
Here you can view The Guide for Windows and Unix.
Now you go through a completely normal Windows installation of the software.
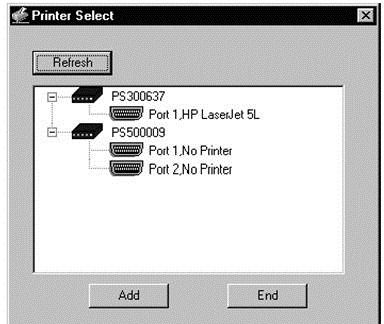
o Now you have to install and release printers on the individual printer port.
o In the Printer Installation Assistant you now have to add a new printer.
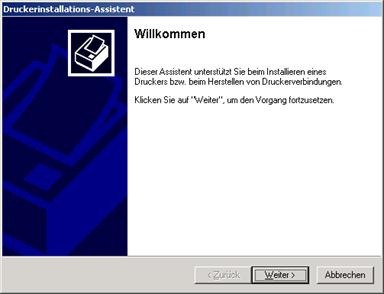
Select Local Printer without Automatic Plug and Play Recognition.

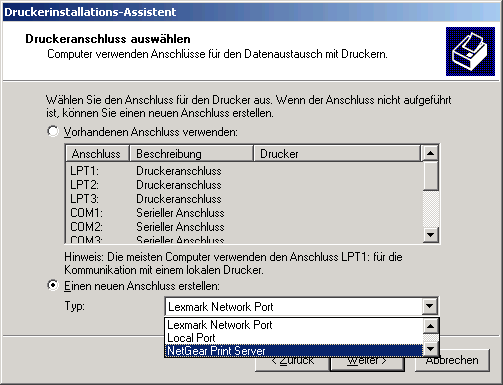
o Now you have to create a new connection. (“NetGear Print Server”).
o  Now if you see the window with the settings for the printer on the print server, click Browse and select the print server

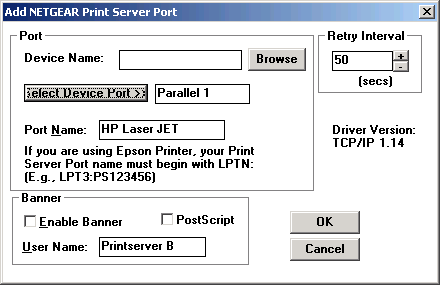

After that, they do a normal printer installation in Windows with driver selection.
o It may also happen that you have to take the driver CD of the respective printer.
o After installing the driver, the printer is fully functional and the print server is fully configured.